Nanotomography Provides AM Powder Inspection
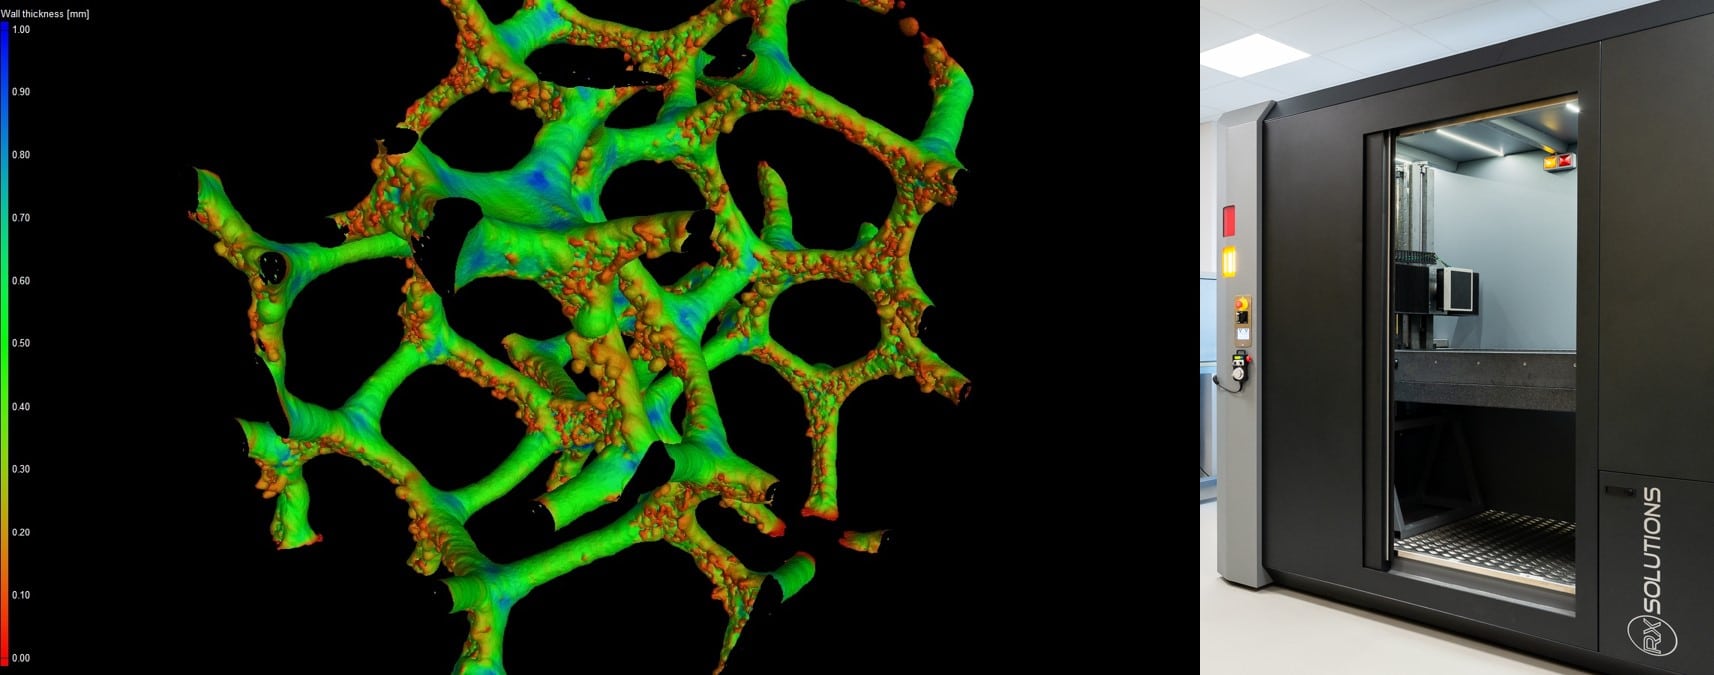
X-ray microtomography has become, over the years, an indispensable means for non-invasive, non-destructive characterization of materials in three-dimensions. Industrial computed tomography, also known as CT scanning, is able to simply and easily characterize material structure of additive manufacturing components. Every structural and dimensional aspect of additive manufacturing parts can be assessed through a single dataset.
Many industries – including automotive, aeronautic, healthcare or defense – have been experiencing impactful production and business transformations from additive technologies. For instance, aircraft parts created with AM help designers to reduce weight and the number of components in assembly. These parts very often contain internal cavities or channels that make surface inspection techniques ineffective. This is where X-ray tomography makes sense:
It allows the internal structures to be inspected with finesse in a non-destructive way keeping in mind that defects such as porosities or cracking can lead to significant structural integrity issues.
In addition, computed tomography is used at different scales: It is no longer a question of characterizing only the part but also the manufacturing process, taking into account the greatest number of AM parameters with the objective of determining the optimum parameters to produce the best quality parts: from the powder used as a raw material to the final part.
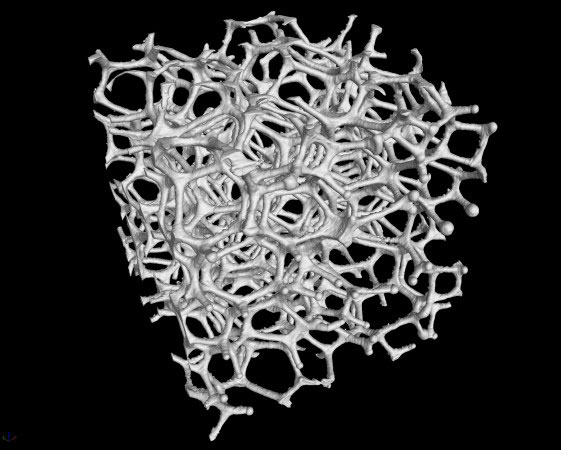
Powder is the key element for most of the additively manufactured parts. We know that powders with homogeneous size and shape distribution will drive to homogeneous melting properties, thus best-quality parts. At this level, a high spatial resolution is required. The use of nanotomography (or submicron tomography) allows a resolution of up to 0.3 microns of voxel size and gives a way to take a close look at the powder and inspect in details several parameters (such as their sphericity, grain size distribution or the presence/absence of internal porosity).
AM process parameters are constantly changing as they are many variables in the printers.
CT helps to rapidly optimize the process characteristics and gives a way to rapidly go through the sample analysis. Hence, many design iterations can be done in a much shorter time frame.
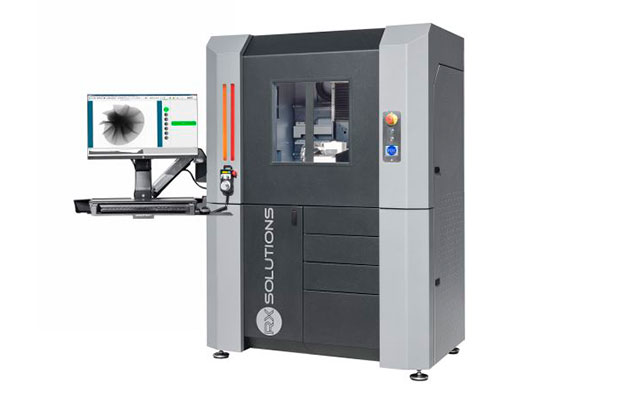
RX Solutions, based in Annecy, France, specializes in the design of X-ray radioscopy and microtomography systems. Its tomographic solutions can be used for a variety of 3D applications ranging from research and material sciences to industrial applications in R&D and production. Scalable CT hardware integrated with its full featured proprietary “X-Act” software, offers streamlined acquisition and reconstruction and is enhanced by advanced corrective algorithms; capable of automated workflow: scanning, reconstruction, and inspection.
Sariki is RX Solutions' distributor in Spain and Portugal.
If you want more information and personalized advice, fill out the following contact form.


